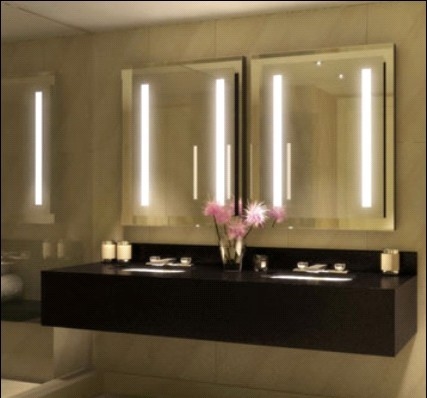
Beautiful Vanity Mirrors with Lights
There are many vanity mirrors with lights that are too expensive to buy out there, so the solution to this problem is, you can create it by yourself. By creating vanity mirrors with lights, you can save your budget and time. You have to go to the hardware store to get all the stuff that you need to create this mirror. This project uses one flat MDF board for the top, and it should be nailed to a frame. The frame itself is 1 inch by 4 inch. All you have to do is cut circle holes and square holes, and then sanding priming and painting. You can do the wiring process in the simple way.
Begin with Vanity Bars
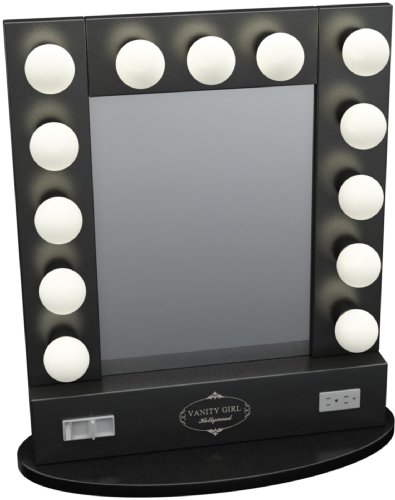
Getting the fixtures for the bulbs is the first thing you have to do. You can choose the fixtures according to your preference that your measurements will be determined. For example, you can go with a 6 bulb vanity for the top and 4 bulb vanity strips for the sides. If it is possible, you can use six inches apart for the center of the light bulbs. So, for the 4 bulb that you measured, you have to make them mount apart. You can apply your measurements on a prototype piece of cardboard. When it is the time to put the vanity bars on the prototype, you have to left 1 inch on the sides so the 1 inch wood board frame can go, and you have to mark where the vanity bars will fit and mark where the holes for the light bulbs fixture will. After that, you can cut the holes out of the cardboard prototype.
Choose How Many Outlets You Want
You can choose how many outlets that you want. For example, you can go to three holes. Two holes for the power plugs and another one is for switch in the center. You have to make sure that the electrical boxes do not interfere with the 1 inch frame board, so you can make the mark for these. The mark is in the center of the front, and an electrical box will be traced the hole. After that the mark will measure the distance between the two holes for the power outlets plugs to go.
First Cut Measurement
Cutting the frame is the first cut that you will make. You can cut a square piece of wood the 36 x 33 inches dimensions. You can use a circular saw to get it straight. Meanwhile, you can also use the table saw to get the right size front board. After that, the holes can be traced from the cardboard prototype into the front wood that you just cut. And then you have to cut the frame of 4” x 1” board.
Frame Attachment
You need to pre mark the holes to attach the frame for where you want to drill the holes for the nailing the top board to the frame. You have to glue the frame before pre drilling the frame to the top board and put weights on it to hold it together. You have to pre-drilled holes for the nails, after the glued dry. And then, nailed in the nails where the pre-drilled holes marked.

Sanding, Putting, Priming and Painting
You have to make sure that you sand the vanity to make it more attractive. You can use a finishing sander that is completed by grit paper. To prime, you can use sand spray primmer. By using the primmer you can make the paint last longer and stick better. And paint it with the color that you desire. Now, you can enjoy your vanity mirrors with lights.
9 Photos of Beautiful Vanity Mirrors with Lights